Falling out of love with your pool? We get it. It’s a lot of work; and when the kids outgrow it or life gets busy, there can be more cons than pros to having an inground pool. Pools take up a ton of valuable yard space that you could use for a deck, bonfire, landscaping, and more. Pools are also expensive to maintain.
So what do you do when you want to remove your inground pool? Backfilling a pool is an effective and straightforward process that will give you back your yard!
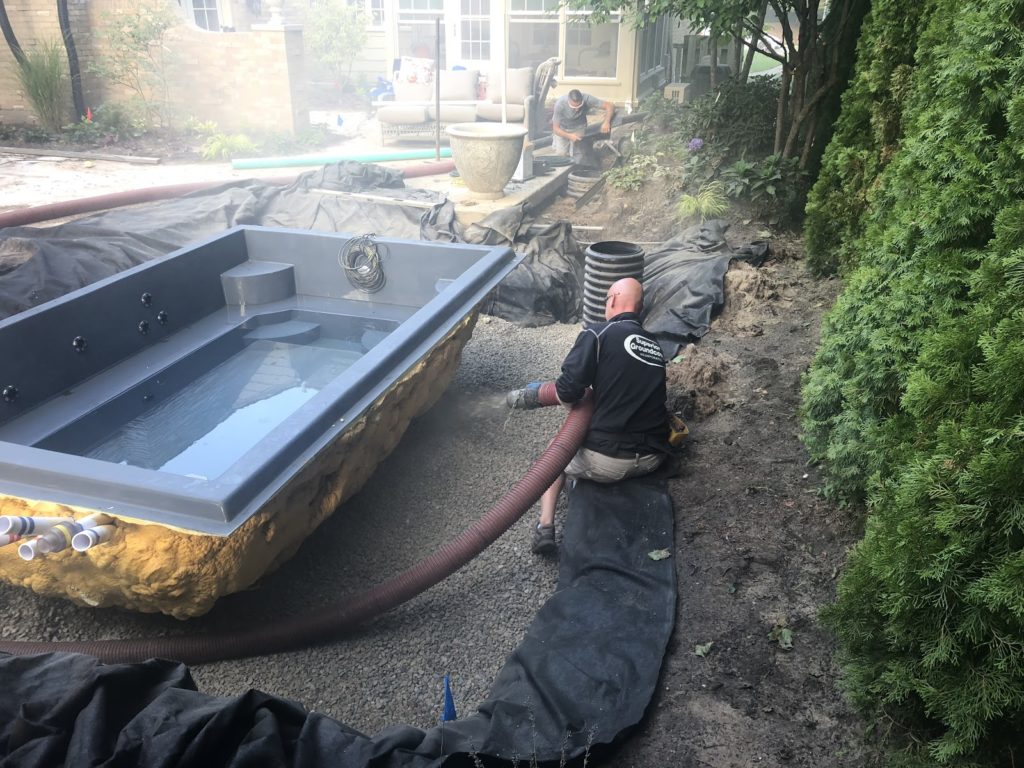
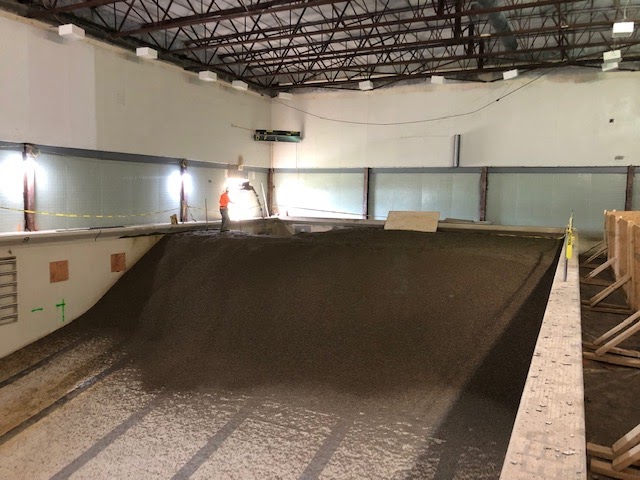
Backfilling is not just for removing a pool. Did you know that when a new pool is being installed, extra excavation is required to allow the builder room to access and install the plumbing? Once this process is completed, the extra width must be backfilled.
Backfill: to refill a previously excavated area with material.
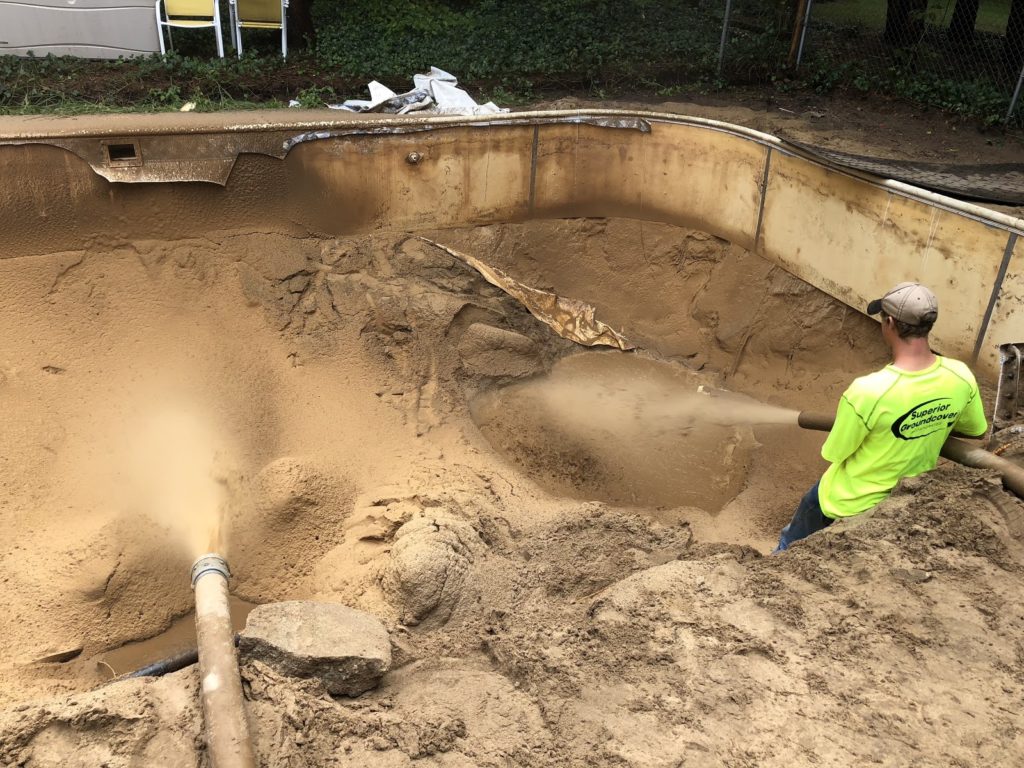
Backfilling a pool is the process of filling the empty space left by the inground pool with gravel, sand, or dirt. Backfilling is just one part of the pool removal process. The concrete floor and walls of the pool must be broken up and/or removed prior to backfilling.
Backfilling costs vary based on the size of the pool and the material used. According to HomeAdvisor, “The average price to remove a swimming pool falls between $3,000 and $10,000. The cost to eliminate an above ground model averages $2,700. An inground unit can be extracted for $9,000 to $19,000 or filled in for about $5,000.”
There are different types of materials that can be used for backfilling a pool such as dirt, sand and gravel. We will describe each type of fill material in the process section of this article. We will also walk you through how to fill in an inground pool and how to DIY backfill a pool.
During pool construction, the builder needs to excavate more than just the pool area. This allows space for the plumbing work to be done. Afterwards, the extra space around the pool needs to be backfilled.
Additionally, when removing a pool, backfill is required. Backfilling a swimming pool allows the excavated area where the pool was to be returned to a normal yard.
The process of removing a pool will differ based on the type of pool, the goals of the project, the budget, and other factors. There are two main goals that can be accomplished by backfilling: pool installation and pool removal.
When installing a new pool, builders must dig extra space around the pool area to allow plumbing to be installed. After this is done, the extra space needs to be filled again. This is when backfilling for pool installation occurs. This is a smooth part of the installation process and will be carried out by the builder and/or a trusted vendor like Superior Groundcover.
Backfilling an inground pool is more cost-effective than removing the pool entirely. Pool removal is often overseen by a licensed engineer. Using a licensed engineer provides a few benefits to home-owners. If an engineer oversees the process, the area is considered suitable for new structures and the previous pool does not need to be disclosed to potential buyers. However, if an engineer is not involved, homeowners cannot build new structures in the area and must disclose the pool’s existence to new buyers. If the pool is not fully removed, in some cases, it must also be disclosed. Check your local regulations before making any decisions.
As an alternative to backfill, you can remove the pool completely. This is much more expensive, but allows the pool materials to be hauled off versus remaining buried.
Backfilling can be done with sand, dirt, or gravel. Consider the goals of the project and the budget when choosing a fill material.
The backfill materials we normally use at Superior Groundcover are class 2 fill sand and pea stone. Pea stone is the best fill material because it’s self-compacting. Other fill materials require more labor for proper compaction which adds to the labor cost. Even if sand or dirt is properly compacted, it continues to settle over time, which can result in future damage. The movement can create a void under the cement pad. The same occurs when a lawn is installed on top of this material.
Sand can be used for backfilling the area around a pool during installation. Sand can be mixed with concrete to prevent settling. Occasionally, sand can retain water and push against the pool walls, causing them to bulge.
Dirt should not be used to backfill during pool installation. While it’s affordable, it takes a long time to settle — from weeks to even months to fully compact. This causes a gap to form under the surface. Dirt is granular, meaning that it can shift and won’t pack well. This makes for an unstable foundation. Saving on installation by using dirt will only cost you in the long run.
Dirt is a suitable material for pool removal backfilling, however. Dirt backfill is really a mixture of dirt, tailings, and topsoil. The ratio of this mixture should be 80% dirt and tailings, and 20% topsoil for use on the surface.
Gravel is very different from sand or dirt because it’s made of stone. Stone provides benefits like instant compaction and more efficient drainage.
Gravel settles immediately when poured. It’s still important to use a compactor to level the surface of the gravel and fill in any remaining gaps. Gravel allows for efficient drainage because it doesn’t absorb water. Instead, the water is able to drain through the stone. This drainage helps ensure that the pool walls will not bulge.
If you are a DIY-pro, familiar with operating an excavator, and have some extra time, DIY backfill is an option. Remember, if an engineer is not involved, you will not be able to build any new structures on the filled area. Also, you will need to disclose that a pool used to be there, which could negatively impact your home value.
If you decide you want to DIY backfill your pool, start by renting the proper equipment. You will need an excavator with rubber tracks. This is key because an excavator with metal tracks will destroy your lawn. Try to find an affordable machine with a quarter — half yard bucket as well as a blade (to help when grading). Typically, a pool backfill requires a machine between five and ten tons. A skilled person will be able to finish the project within a few days.
Once you pick out your machine, have the material delivered prior to renting/picking up the excavator. Occasionally, material deliveries can be delayed. If this happens, you’ll rack up charges per day on the rental.
In order to order the right amount of backfill material, you’ll need to do some calculations. Measure the pool volume in cubic yards by measuring the length, width, and depth in feet. Next, multiply these numbers and divide the result by 27 (the number of cubic feet in one yard).
Now that you’ve determined the pool’s volume, you can order your backfill material. This will be costly. Research which material will work best for your area and fits into your budget. When your material is delivered, ask for it to be dumped near the pool to reduce the amount of moving you will have to do.
Next, it’s time to break up the walls and floor of the pool. It’s important to break up (or drill holes) into the bottom of your pool to allow drainage. Depending on the material of the pool, you can break it up using your excavator. If your pool is made of gunite, you will need to rent additional equipment (like a hydraulic breaker) in order to break it up. Next, tear down at least the tops of the pool walls. It’s best to remove these materials and avoid burying them.
CAUTION: be very careful around the pool while using the excavator. If you fall into the pool while in the machine, you could be seriously or fatally injured.
After breaking up the sides and bottom of the pool, you’re ready to backfill. Use the blade on the excavator to help push dirt into the hole. You can use the tracks to start to compact the dirt once you are able to use the excavator in the hole. Try to compact the fill as much as possible.
When the hole is almost full, use the machine to compact the soil. Next, use three to six inches of topsoil. This should be sufficient to establish a new lawn. Use the blade to grade the surface prior to spreading the topsoil.
After laying the topsoil, you can begin planting your yard. If you want to learn more about grass seed and sod for establishing a new lawn, you can read an article of ours on this topic.
If this process seems a bit complicated, dangerous, or time-consuming, you should consider hiring professionals. If this process is done incorrectly, it could cause serious problems with drainage, settling, etc.
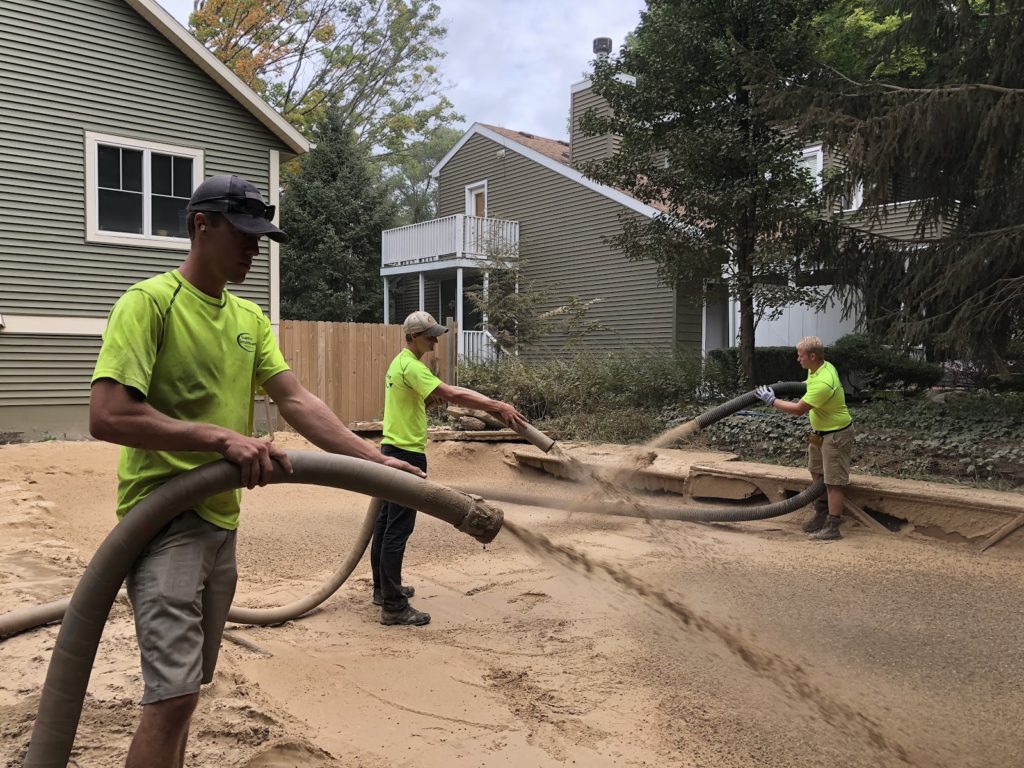
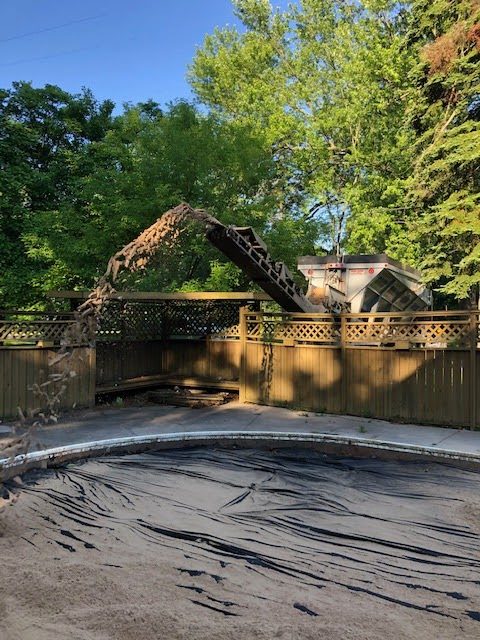
Superior Groundcover uses stone slinger trucks in order to efficiently backfill without damaging lawns.
Questions? Please send us a message.